Raspberry Pi RemoteIoT Tutorial: Your Ultimate Guide To Building A Smart IoT System
Have you ever wondered how to connect your Raspberry Pi to the internet of things (IoT)? Well, buckle up, my friend, because today we're diving deep into the world of Raspberry Pi RemoteIoT tutorials. Whether you're a hobbyist or a tech enthusiast, this guide is here to help you master the art of building smart IoT systems. You'll learn everything from setting up your Raspberry Pi to connecting it with remote devices and sensors. Let's get started!
Now, before we jump into the nitty-gritty details, let me tell you something cool. The Raspberry Pi is not just another gadget; it's a powerhouse for creating innovative projects. RemoteIoT applications are becoming more popular, and understanding how they work can open doors to endless possibilities. Imagine controlling your home appliances, monitoring weather data, or even automating your garden watering system—all from your phone. Sounds exciting, right?
By the end of this Raspberry Pi RemoteIoT tutorial, you'll have a solid understanding of how to set up your own IoT network. We'll cover everything step-by-step, so even if you're new to this world, don't worry. I've got you covered. So, grab a cup of coffee, sit back, and let's explore the fascinating world of Raspberry Pi RemoteIoT together.
- 5movierulz 2022 Download Your Ultimate Guide To Movies In The Streaming Era
- Movierulz Telugu Movies 2024 Your Ultimate Guide To Blockbuster Entertainment
Why Raspberry Pi for RemoteIoT Projects?
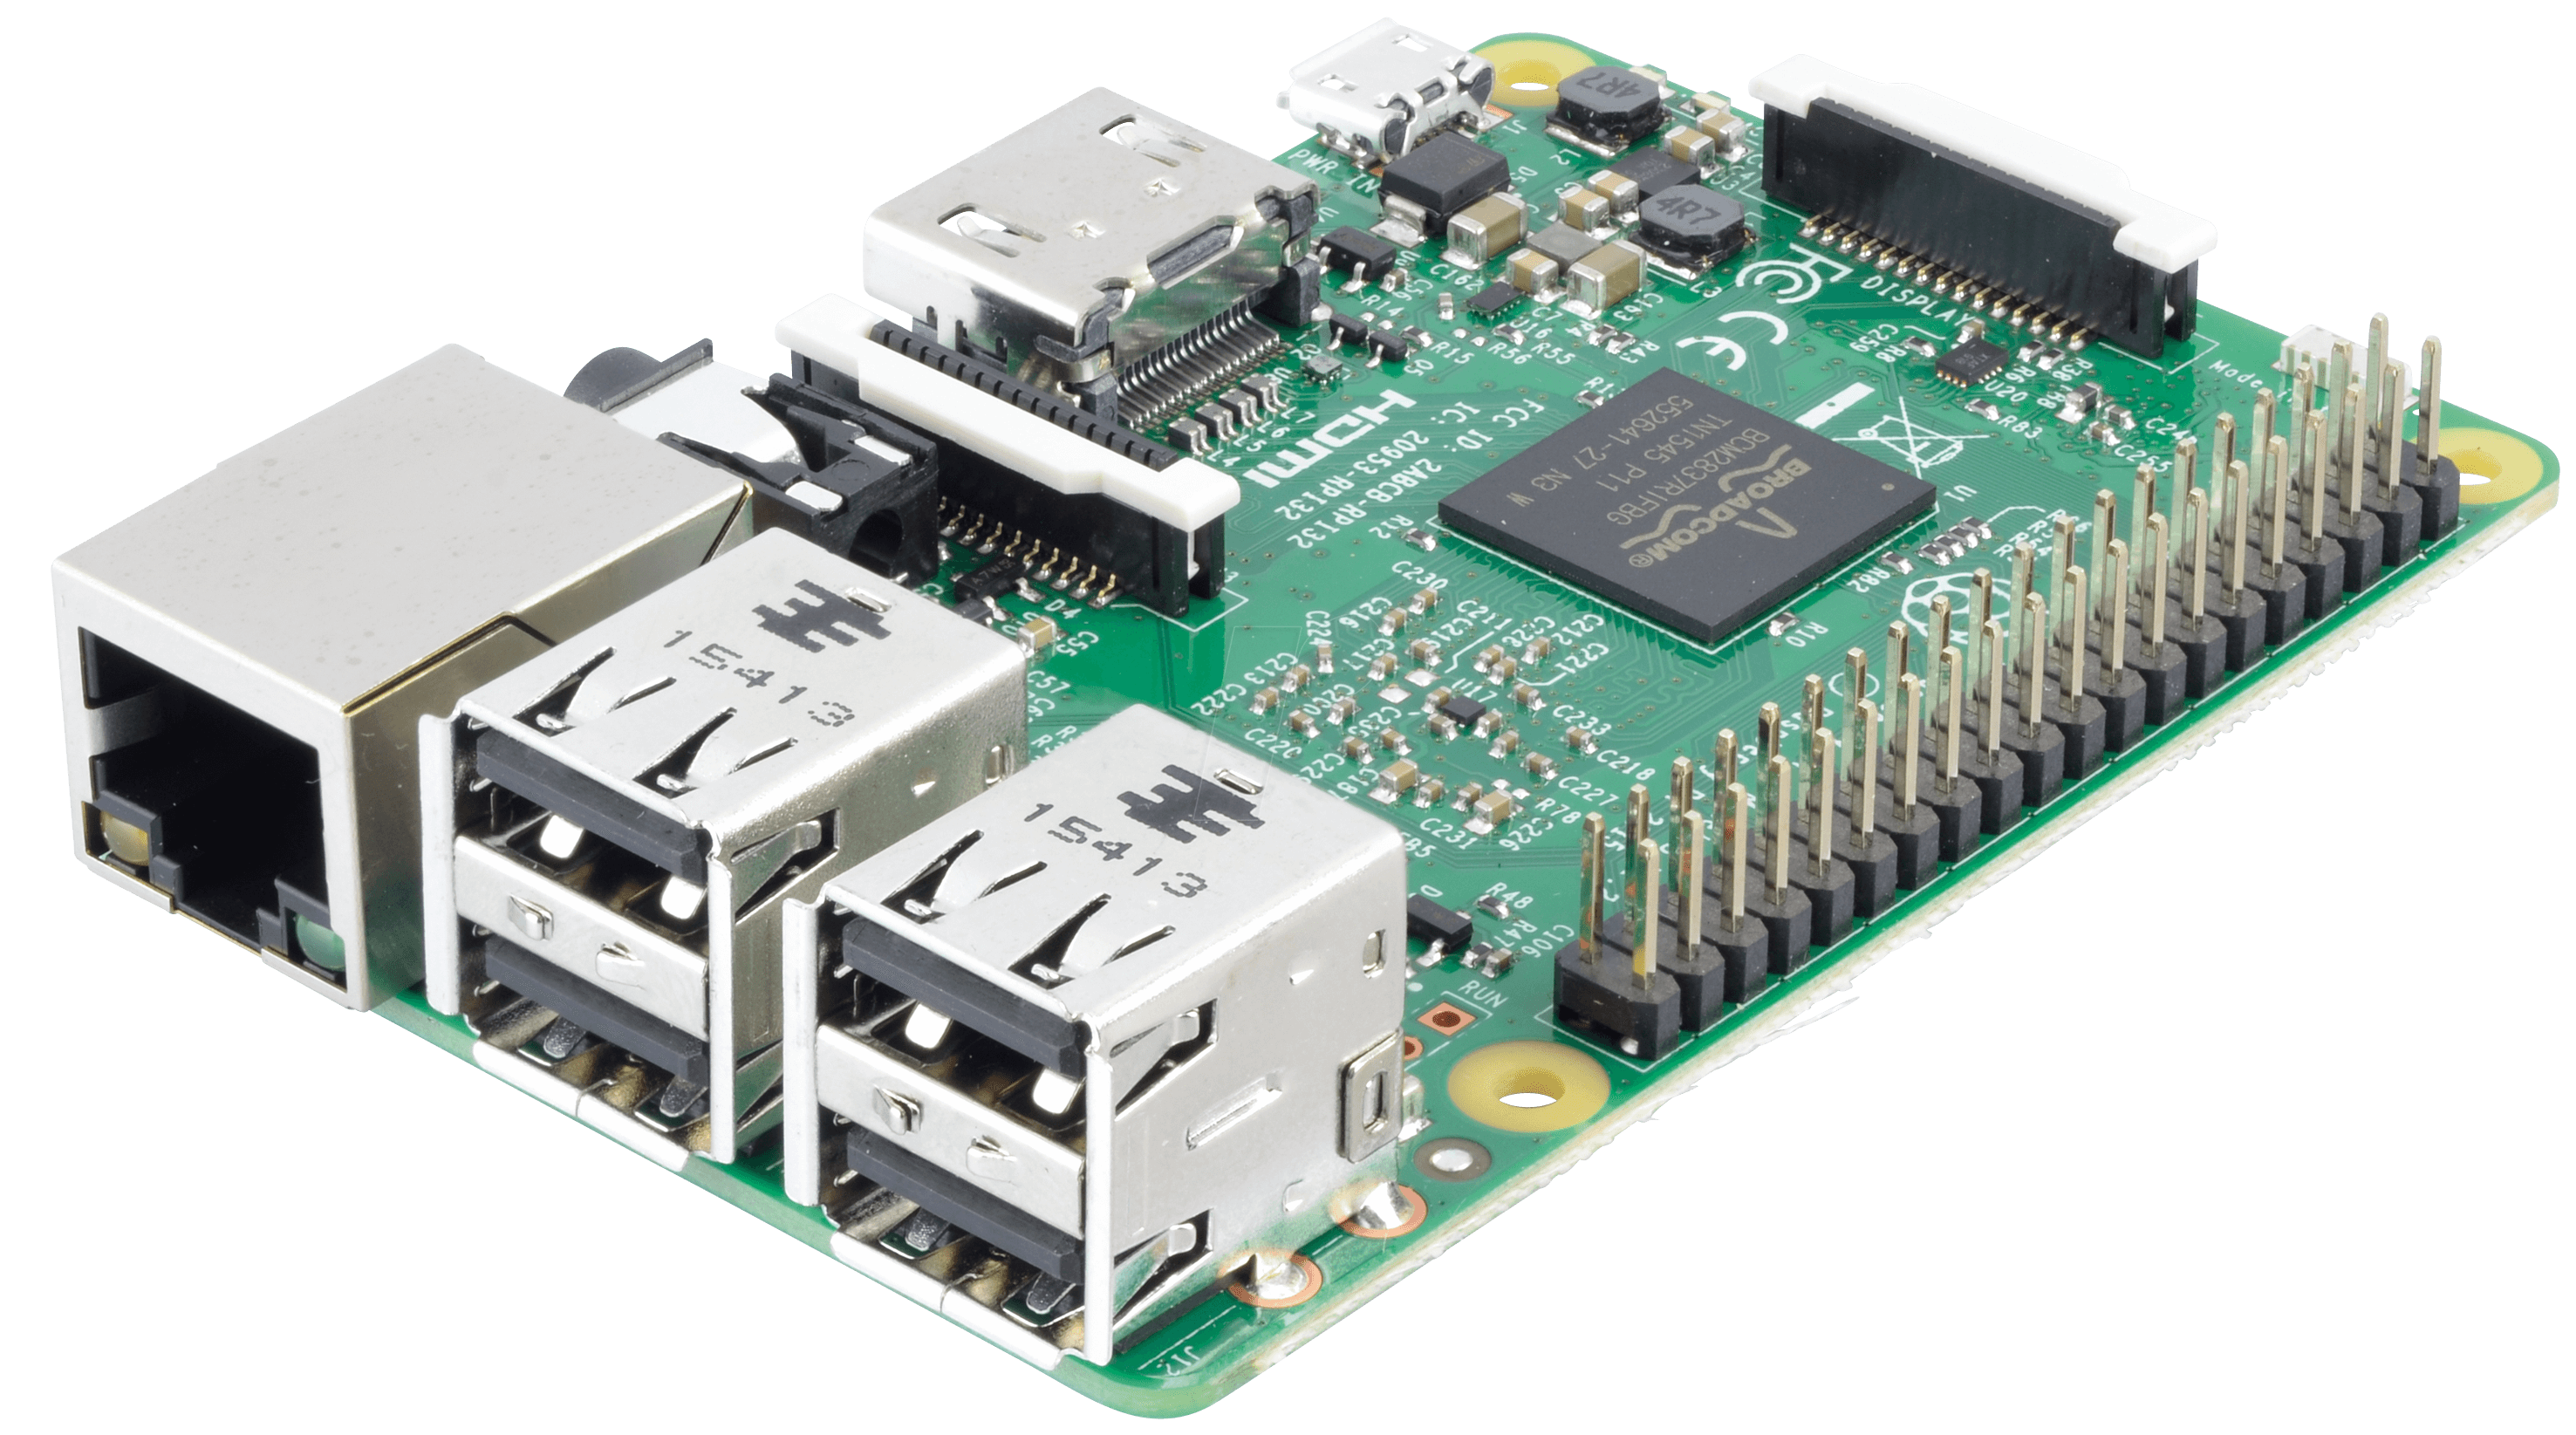
First things first, why is the Raspberry Pi such a great choice for RemoteIoT projects? Well, my friend, the Raspberry Pi is like the Swiss Army knife of tech gadgets. It's affordable, versatile, and packed with features that make it ideal for IoT applications. Here are a few reasons why Raspberry Pi is the perfect fit for your RemoteIoT projects:
- Compact Size: The Raspberry Pi is small enough to fit in your pocket, making it perfect for portable IoT setups.
- Open-Source Community: With a massive community of developers and enthusiasts, you'll never run out of resources or support.
- GPIO Pins: The General Purpose Input/Output (GPIO) pins allow you to connect sensors, actuators, and other hardware components effortlessly.
- Cost-Effective: Raspberry Pi boards are budget-friendly, which makes them accessible to hobbyists and professionals alike.
- Linux-Based OS: Running on a Linux-based operating system, Raspberry Pi offers flexibility and customization options that other platforms can't match.
So, if you're looking for a device that can handle complex IoT tasks without breaking the bank, the Raspberry Pi is your go-to solution. Now that we've established why Raspberry Pi is a great choice, let's move on to the next step.
Setting Up Your Raspberry Pi for RemoteIoT
Alright, let's get our hands dirty and set up your Raspberry Pi for RemoteIoT applications. This section will walk you through the initial setup process, ensuring your device is ready to connect to the internet of things.
- Movierulz 2025 Your Ultimate Guide To Download Tamil Movies
- Movie Rulzcom Kannada 2024 Your Ultimate Guide To The Latest Kannada Blockbusters
What You'll Need
Before we begin, make sure you have the following items:
- Raspberry Pi Board (any model will do)
- MicroSD Card (minimum 16GB)
- Power Supply (USB-C or MicroUSB, depending on your Pi model)
- HDMI Monitor and Keyboard (optional if you're using SSH)
- Raspberry Pi Imager Tool
- Network Connection (Wi-Fi or Ethernet)
Once you have all the necessary components, follow these steps to set up your Raspberry Pi:
Step-by-Step Setup Guide
Here's a quick guide to help you set up your Raspberry Pi:
- Download the Raspberry Pi OS from the official website.
- Use the Raspberry Pi Imager tool to flash the OS onto your MicroSD card.
- Insert the MicroSD card into your Raspberry Pi and power it up.
- Connect your Raspberry Pi to the internet via Wi-Fi or Ethernet.
- Update the operating system by running the following commands:
sudo apt update && sudo apt upgrade
With your Raspberry Pi up and running, you're now ready to move on to the next phase of this Raspberry Pi RemoteIoT tutorial.
Understanding IoT Protocols
Now that your Raspberry Pi is set up, it's time to dive into the world of IoT protocols. Understanding how devices communicate over the internet is crucial for building robust RemoteIoT systems. Here's a quick overview of some popular IoT protocols:
MQTT
MQTT, or Message Queuing Telemetry Transport, is one of the most widely used IoT protocols. It's lightweight, efficient, and perfect for low-bandwidth networks. MQTT uses a publish-subscribe model, where devices can publish messages to a broker and subscribe to topics of interest.
CoAP
CoAP, or Constrained Application Protocol, is designed for resource-constrained devices. It's based on HTTP but optimized for IoT applications. CoAP uses UDP instead of TCP, making it faster and more efficient for small-scale IoT setups.
HTTP
HTTP, or Hypertext Transfer Protocol, is the backbone of the web. While it's not as lightweight as MQTT or CoAP, it's still a viable option for IoT applications that require high reliability and security.
Choosing the right protocol depends on your specific use case. For most Raspberry Pi RemoteIoT projects, MQTT is the go-to choice due to its simplicity and efficiency.
Connecting Sensors to Raspberry Pi
Sensors are the backbone of any IoT system. They allow your Raspberry Pi to collect data from the environment and make informed decisions. In this section, we'll explore how to connect various sensors to your Raspberry Pi.
Temperature and Humidity Sensor
One of the most popular sensors for Raspberry Pi RemoteIoT projects is the DHT11 or DHT22 sensor. These sensors can measure temperature and humidity, making them perfect for weather monitoring applications.
To connect a DHT11/DHT22 sensor to your Raspberry Pi:
- Connect the VCC pin to a 3.3V or 5V GPIO pin.
- Connect the GND pin to a ground GPIO pin.
- Connect the DATA pin to a GPIO pin of your choice.
- Install the Adafruit DHT library by running:
sudo pip3 install adafruit-circuitpython-dht
With the sensor connected, you can start collecting temperature and humidity data using Python scripts.
Setting Up a RemoteIoT Server
Now that your Raspberry Pi is collecting data from sensors, it's time to set up a RemoteIoT server to store and analyze this data. There are several options for setting up an IoT server, but for this tutorial, we'll focus on using Mosquitto, a popular MQTT broker.
Installing Mosquitto
To install Mosquitto on your Raspberry Pi:
- Run the following command:
sudo apt install mosquitto mosquitto-clients
- Start the Mosquitto service:
sudo systemctl start mosquitto
- Enable Mosquitto to start on boot:
sudo systemctl enable mosquitto
With Mosquitto installed, your Raspberry Pi is now ready to act as an MQTT broker, allowing other devices to connect and exchange data.
Building a Raspberry Pi RemoteIoT Dashboard
A dashboard is a great way to visualize the data collected by your Raspberry Pi RemoteIoT system. In this section, we'll explore how to build a simple dashboard using Node-RED, a popular tool for creating IoT applications.
Installing Node-RED
To install Node-RED on your Raspberry Pi:
- Run the following command:
bash
- Start Node-RED:
node-red-start
- Access the Node-RED interface by visiting:
http://your-raspberry-pi-ip-address:1880
With Node-RED installed, you can start building your dashboard by dragging and dropping nodes onto the canvas. Connect your sensors to the dashboard using MQTT nodes, and watch the data flow in real-time.
Securing Your Raspberry Pi RemoteIoT System
Security is a crucial aspect of any IoT system. In this section, we'll discuss some best practices for securing your Raspberry Pi RemoteIoT setup.
Use Strong Passwords
Always use strong, unique passwords for your Raspberry Pi and any connected devices. Avoid using default passwords, as they can be easily guessed by attackers.
Enable SSH Key Authentication
SSH key authentication is a more secure alternative to password-based authentication. To enable SSH key authentication:
- Generate an SSH key pair on your computer:
ssh-keygen -t rsa -b 4096
- Copy the public key to your Raspberry Pi:
ssh-copy-id pi@your-raspberry-pi-ip-address
- Disable password authentication by editing the SSH config file:
sudo nano /etc/ssh/sshd_config
- Set PasswordAuthentication to no and restart the SSH service:
sudo systemctl restart ssh
With SSH key authentication enabled, your Raspberry Pi will be much more secure against unauthorized access.
Testing Your Raspberry Pi RemoteIoT System
Before deploying your Raspberry Pi RemoteIoT system, it's essential to test it thoroughly. In this section, we'll cover some tips for testing your setup.
Simulate Real-World Scenarios
Test your system under various conditions to ensure it performs as expected. For example, simulate temperature changes, network outages, and sensor malfunctions to see how your system responds.
Monitor System Logs
Keep an eye on your system logs to catch any errors or issues early. Use tools like journalctl to monitor logs in real-time:
sudo journalctl -u mosquitto -f
By monitoring your logs, you can quickly identify and resolve any problems that arise.
Scaling Your Raspberry Pi RemoteIoT System
As your Raspberry Pi RemoteIoT system grows, you may need to scale it to handle more devices and data. In this section, we'll discuss some strategies for scaling your setup.
Use a Cloud-Based IoT Platform
Consider using a cloud-based IoT platform like AWS IoT or Azure IoT Hub to manage your devices and data. These platforms offer advanced features like device management, data analytics, and machine learning capabilities.
Optimize Your Code
Optimize your Python scripts and Node-RED flows to improve performance and reduce resource usage. Use libraries like asyncio to handle asynchronous tasks efficiently.
By scaling your Raspberry Pi RemoteIoT system, you can ensure it remains reliable and efficient as it grows.
Conclusion
And there you have it, folks! A comprehensive Raspberry Pi RemoteIoT tutorial to help you build your own smart IoT system. From setting up your Raspberry Pi to connecting sensors and securing your setup, we've covered everything you need to know. Remember, the world of IoT is full of possibilities, and with the right tools and knowledge, you can create innovative projects that make a real difference.
So, what are you waiting for? Grab your Raspberry Pi, start experimenting, and share your creations with the world. Don't forget to leave a comment below and let me know how your Raspberry Pi RemoteIoT project turns out. Happy tinkering!
Table of Contents
- Why Raspberry Pi for RemoteIoT Projects?
- Setting Up Your Raspberry Pi for RemoteIoT
- Understanding IoT Protocols
- Connecting Sensors to Raspberry Pi
- Setting Up a RemoteIoT Server
- Building a Raspberry Pi RemoteIoT Dashboard
- Securing Your Raspberry Pi RemoteIoT System
- Unveiling The World Of Vegamoviescom Your Ultimate Movie Streaming Hub
- 2023 Movierulz The Ultimate Guide To Understanding The Phenomenon

A beginner's guide to programming the Raspberry Pi Pico
The Raspberry Pi Tutorial A Beginner’s Guide from

Raspberry Pi hardware Raspberry Pi Documentation
