How To SSH Into Raspberry Pi From Windows 11: A Beginner’s Guide
Hey there, tech enthusiasts! If you're reading this, chances are you're diving into the world of Raspberry Pi and want to know how to SSH into Raspberry Pi from Windows 11. Well, you're in the right place! SSH (Secure Shell) is your golden ticket to remotely control your Raspberry Pi from your Windows 11 machine. It’s like having a secret backdoor to your Pi without needing to physically touch it. So, let’s get started and unravel the magic of SSH, shall we?
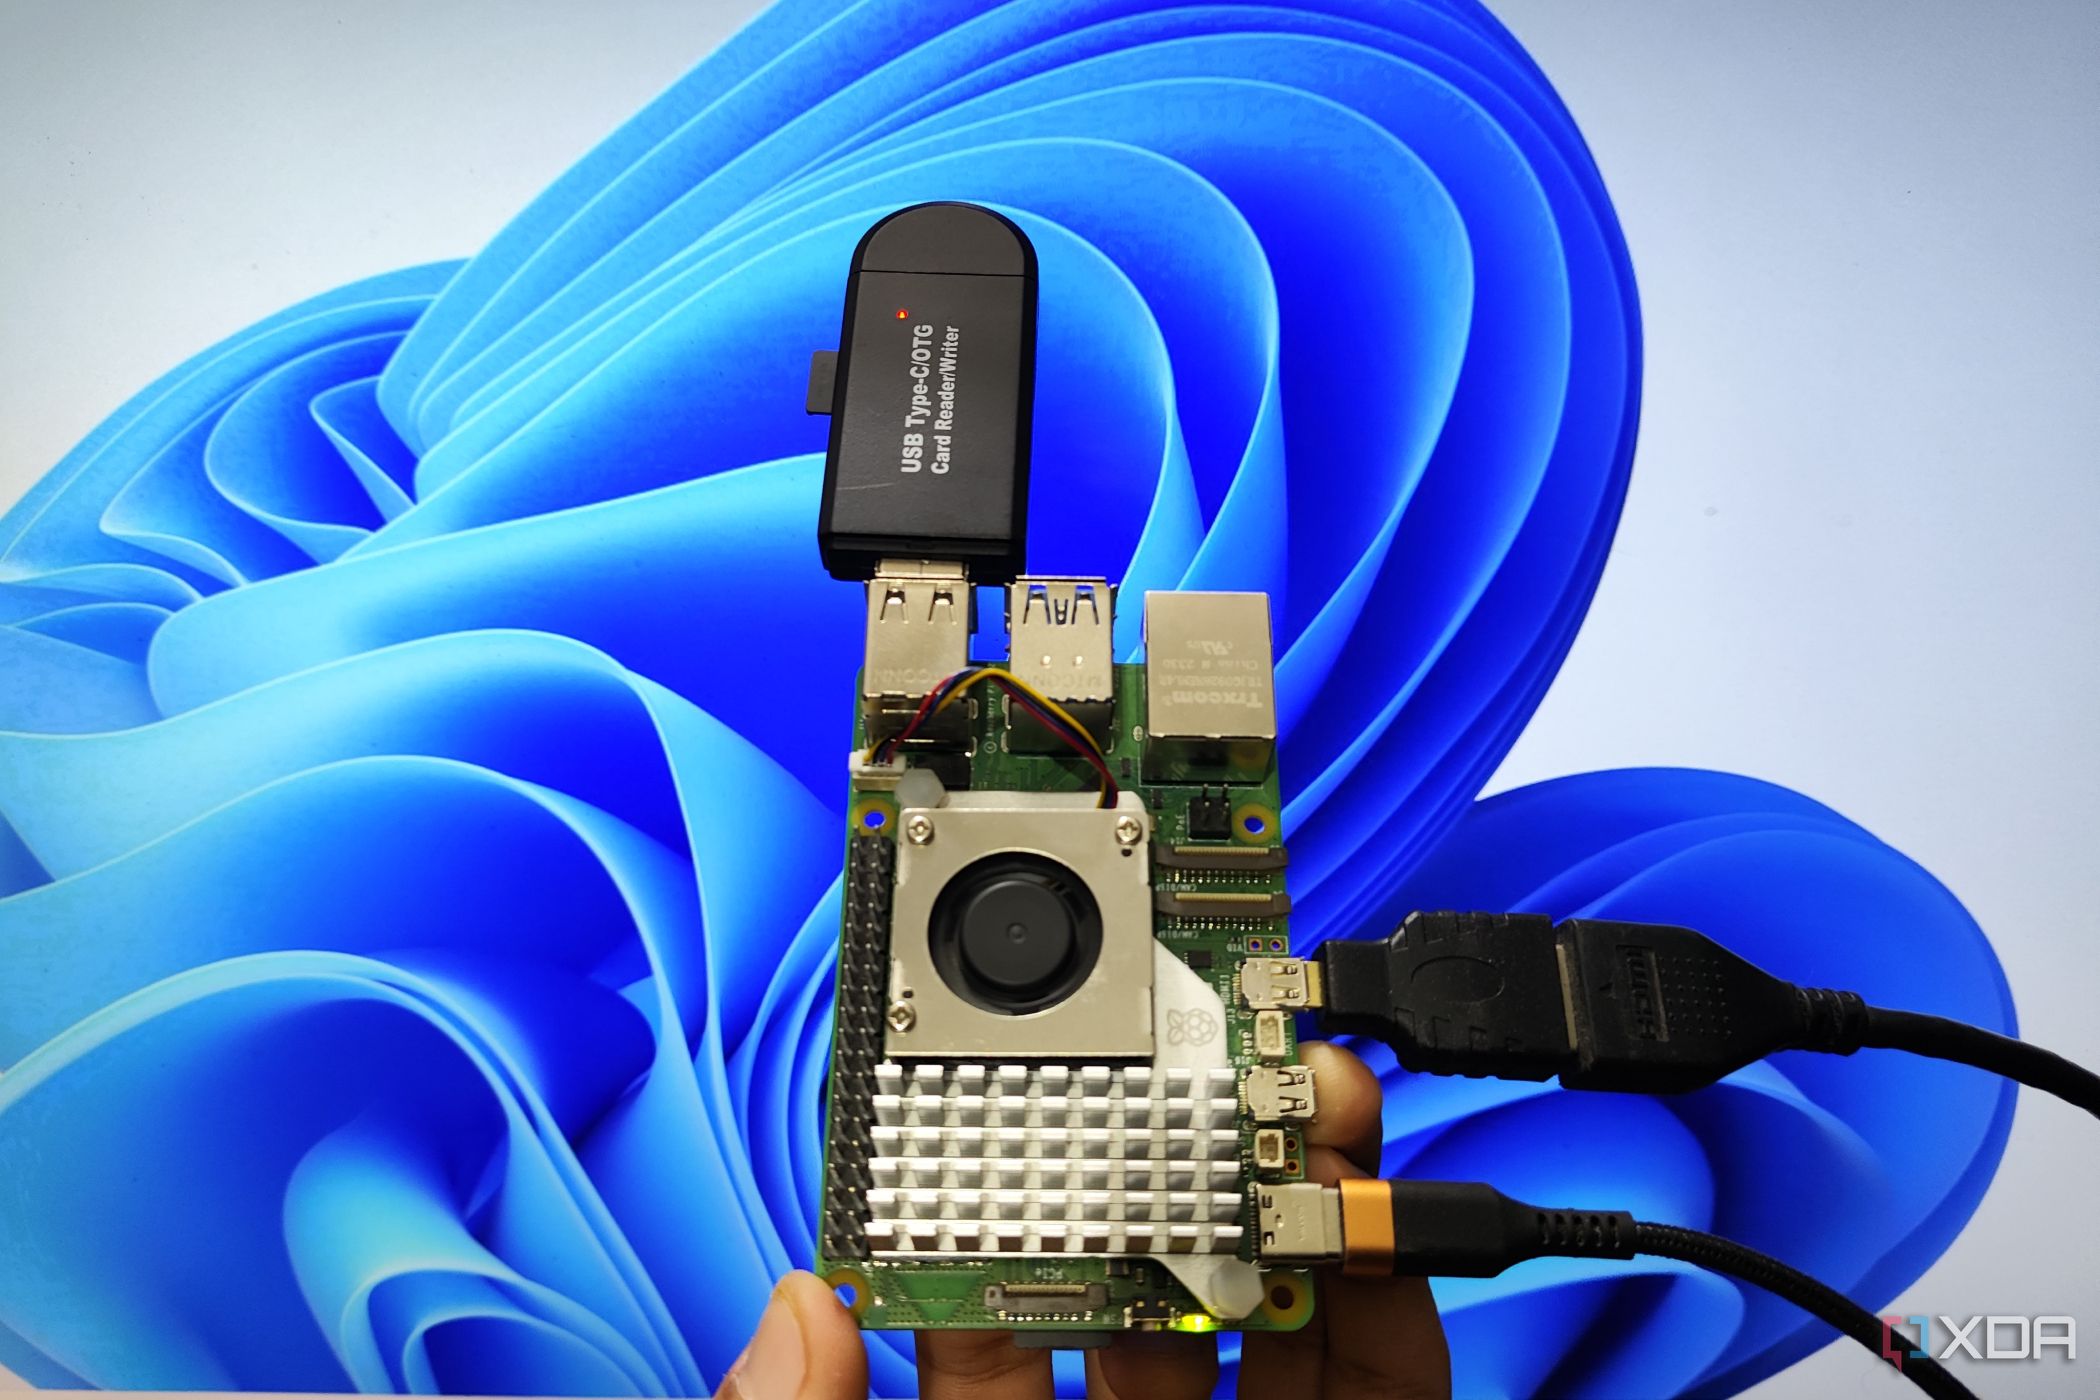
SSH is more than just a tech buzzword—it’s a powerful tool that allows you to manage your Raspberry Pi remotely. Whether you're a beginner or an advanced user, mastering SSH can save you a ton of time and effort. In this guide, we’ll walk you through every step, from setting up your Raspberry Pi to configuring your Windows 11 system for seamless SSH connections. No need to panic if you’re new to this; we’ve got your back!
Now, before we dive deep, let’s clarify something. SSH isn’t just for pros. Even if you’ve never tinkered with command lines or remote connections before, this guide will make it super easy for you. By the end of this article, you’ll be SSH-ing like a pro. So, buckle up, and let’s get your Raspberry Pi and Windows 11 talking to each other!
- All Movies Hub 4 U Your Ultimate Movie Streaming Destination
- Hdhub4u South Movie Your Ultimate Guide To Streaming South Indian Cinema
Understanding SSH: The Basics You Need to Know
Before we jump into the nitty-gritty of how to SSH into Raspberry Pi from Windows 11, let’s take a moment to understand what SSH actually is. SSH stands for Secure Shell, and it’s a cryptographic protocol that lets you securely connect to another computer over an unsecured network. In simpler terms, it’s like having a private conversation with your Raspberry Pi, even when you’re not sitting right next to it.
Here’s why SSH is so awesome:
- It’s secure, so you don’t have to worry about prying eyes.
- It’s efficient, allowing you to manage your Pi without needing a monitor or keyboard.
- It’s versatile, meaning you can use it for anything from file transfers to running scripts.
Now, when we talk about SSH into Raspberry Pi from Windows 11, we’re essentially setting up a secure communication channel between your Windows PC and your Pi. Think of it as giving your Pi a remote control that you can use from anywhere in your network.
- 1 Tamil Blasterscom Your Ultimate Destination For Tamil Movie Enthusiasts
- 5 Movie Rulzcom Kannada Your Ultimate Kannada Film Adventure
Setting Up Your Raspberry Pi for SSH
Alright, now that we know what SSH is, let’s prep your Raspberry Pi for the connection. The first step is to ensure that SSH is enabled on your Pi. Here’s how you do it:
Step 1: Enable SSH on Raspberry Pi
Enabling SSH is a breeze. If you’re using Raspberry Pi OS, you can do this through the graphical interface or the command line. Here’s the quick way:
- Open the Raspberry Pi Configuration tool by typing `sudo raspi-config` in the terminal.
- Navigate to the Interfacing Options and select SSH.
- Choose "Yes" to enable SSH.
Voila! SSH is now enabled on your Pi. If you’re using a headless setup (no monitor or keyboard), simply create an empty file named `ssh` in the boot partition of your SD card. That’s it—your Pi will automatically enable SSH on boot.
Configuring Your Windows 11 System for SSH
Now that your Raspberry Pi is ready, let’s move on to your Windows 11 machine. The good news? Windows 11 comes with built-in SSH support, so you don’t need to install any extra software. Here’s how you configure it:
Step 1: Check if OpenSSH Client is Installed
To verify if the OpenSSH Client is installed on your Windows 11, follow these steps:
- Open Settings and go to Apps > Optional Features.
- Search for "OpenSSH Client" in the list. If it’s not installed, click on "Add a Feature" and select OpenSSH Client.
Once you’ve confirmed that the OpenSSH Client is installed, you’re good to go!
Connecting to Raspberry Pi via SSH
With both your Raspberry Pi and Windows 11 ready, it’s time to connect them via SSH. Here’s how you do it:
Step 1: Find Your Raspberry Pi’s IP Address
To connect to your Pi, you’ll need its IP address. There are a couple of ways to find it:
- Check the network settings on your Pi.
- Use a network scanner app like Advanced IP Scanner.
Once you have the IP address, jot it down—we’ll need it in the next step.
Step 2: Open the Command Prompt and SSH
Now, open the Command Prompt on your Windows 11 machine and type the following command:
- `ssh pi@
`
Replace `
Troubleshooting Common SSH Issues
Even with the best-laid plans, things can go wrong. Here are some common SSH issues and how to fix them:
Issue 1: Connection Refused
This usually happens if SSH isn’t enabled on your Pi. Double-check that you’ve enabled SSH and that your Pi is connected to the same network as your Windows 11 machine.
Issue 2: Incorrect Password
Make sure you’re entering the correct password for the `pi` user. If you’ve changed the default password, use the updated one.
Advanced SSH Techniques
Once you’ve mastered the basics, you can explore some advanced SSH techniques:
1. Using SSH Keys for Passwordless Login
SSH keys allow you to log in to your Pi without entering a password every time. Here’s how you set them up:
- Generate an SSH key pair on your Windows machine using `ssh-keygen`.
- Copy the public key to your Pi using `ssh-copy-id`.
From now on, you’ll be able to SSH into your Pi without typing a password.
2. Forwarding Ports for Remote Access
If you want to access your Pi from outside your local network, you’ll need to set up port forwarding on your router. This allows you to connect to your Pi using your public IP address.
Why SSH is Essential for Raspberry Pi Users
SSH isn’t just a convenient tool—it’s essential for anyone serious about using Raspberry Pi. Here’s why:
- It saves time by eliminating the need for physical access to your Pi.
- It’s secure, ensuring that your data and commands are protected.
- It’s versatile, allowing you to automate tasks, transfer files, and manage your Pi remotely.
Whether you’re running a home server, setting up a media center, or building a smart home system, SSH is your best friend.
Security Best Practices for SSH
While SSH is secure by default, there are a few best practices you can follow to make it even more robust:
1. Change the Default Password
Never stick with the default `raspberry` password. Change it to something strong and unique.
2. Use SSH Keys Instead of Passwords
SSH keys are more secure than passwords and eliminate the risk of brute-force attacks.
3. Limit SSH Access
Restrict SSH access to specific IP addresses or networks to reduce the risk of unauthorized access.
Conclusion: Mastering SSH for Raspberry Pi
And there you have it—a comprehensive guide on how to SSH into Raspberry Pi from Windows 11. Whether you’re a beginner or an advanced user, SSH is a powerful tool that can transform the way you interact with your Raspberry Pi. By following the steps outlined in this article, you can set up a secure and efficient SSH connection in no time.
So, what are you waiting for? Dive in, experiment, and explore the endless possibilities of SSH. And don’t forget to share your experiences in the comments below or check out our other articles for more Raspberry Pi tips and tricks. Happy tinkering, and see you on the next tech adventure!
Table of Contents
- Understanding SSH: The Basics You Need to Know
- Setting Up Your Raspberry Pi for SSH
- Configuring Your Windows 11 System for SSH
- Connecting to Raspberry Pi via SSH
- Troubleshooting Common SSH Issues
- Advanced SSH Techniques
- Why SSH is Essential for Raspberry Pi Users
- Security Best Practices for SSH
- Conclusion: Mastering SSH for Raspberry Pi
- Why Movierulz5 Has Become A Hot Topic In The Streaming World
- Movierulz2025 Your Ultimate Guide To Streaming Movies Online

SSH Remote control your Raspberry Pi — Raspberry Pi Official Magazine
How to install Windows 11 on your Raspberry Pi

How to SSH into Raspberry Pi for Remote Access on Windows
