How To Use Remote IoT Behind Router Without Windows Free
Imagine this: you're sitting in your cozy living room, sipping coffee, while your IoT devices are humming quietly in the background. But what happens when you need to access those devices remotely without breaking the bank or relying on Windows? Sounds like a challenge, right? Well, not anymore! In this article, we’ll unravel the mystery of using remote IoT behind a router without Windows—for free. Whether you're a tech enthusiast or just starting out, this guide has got you covered.
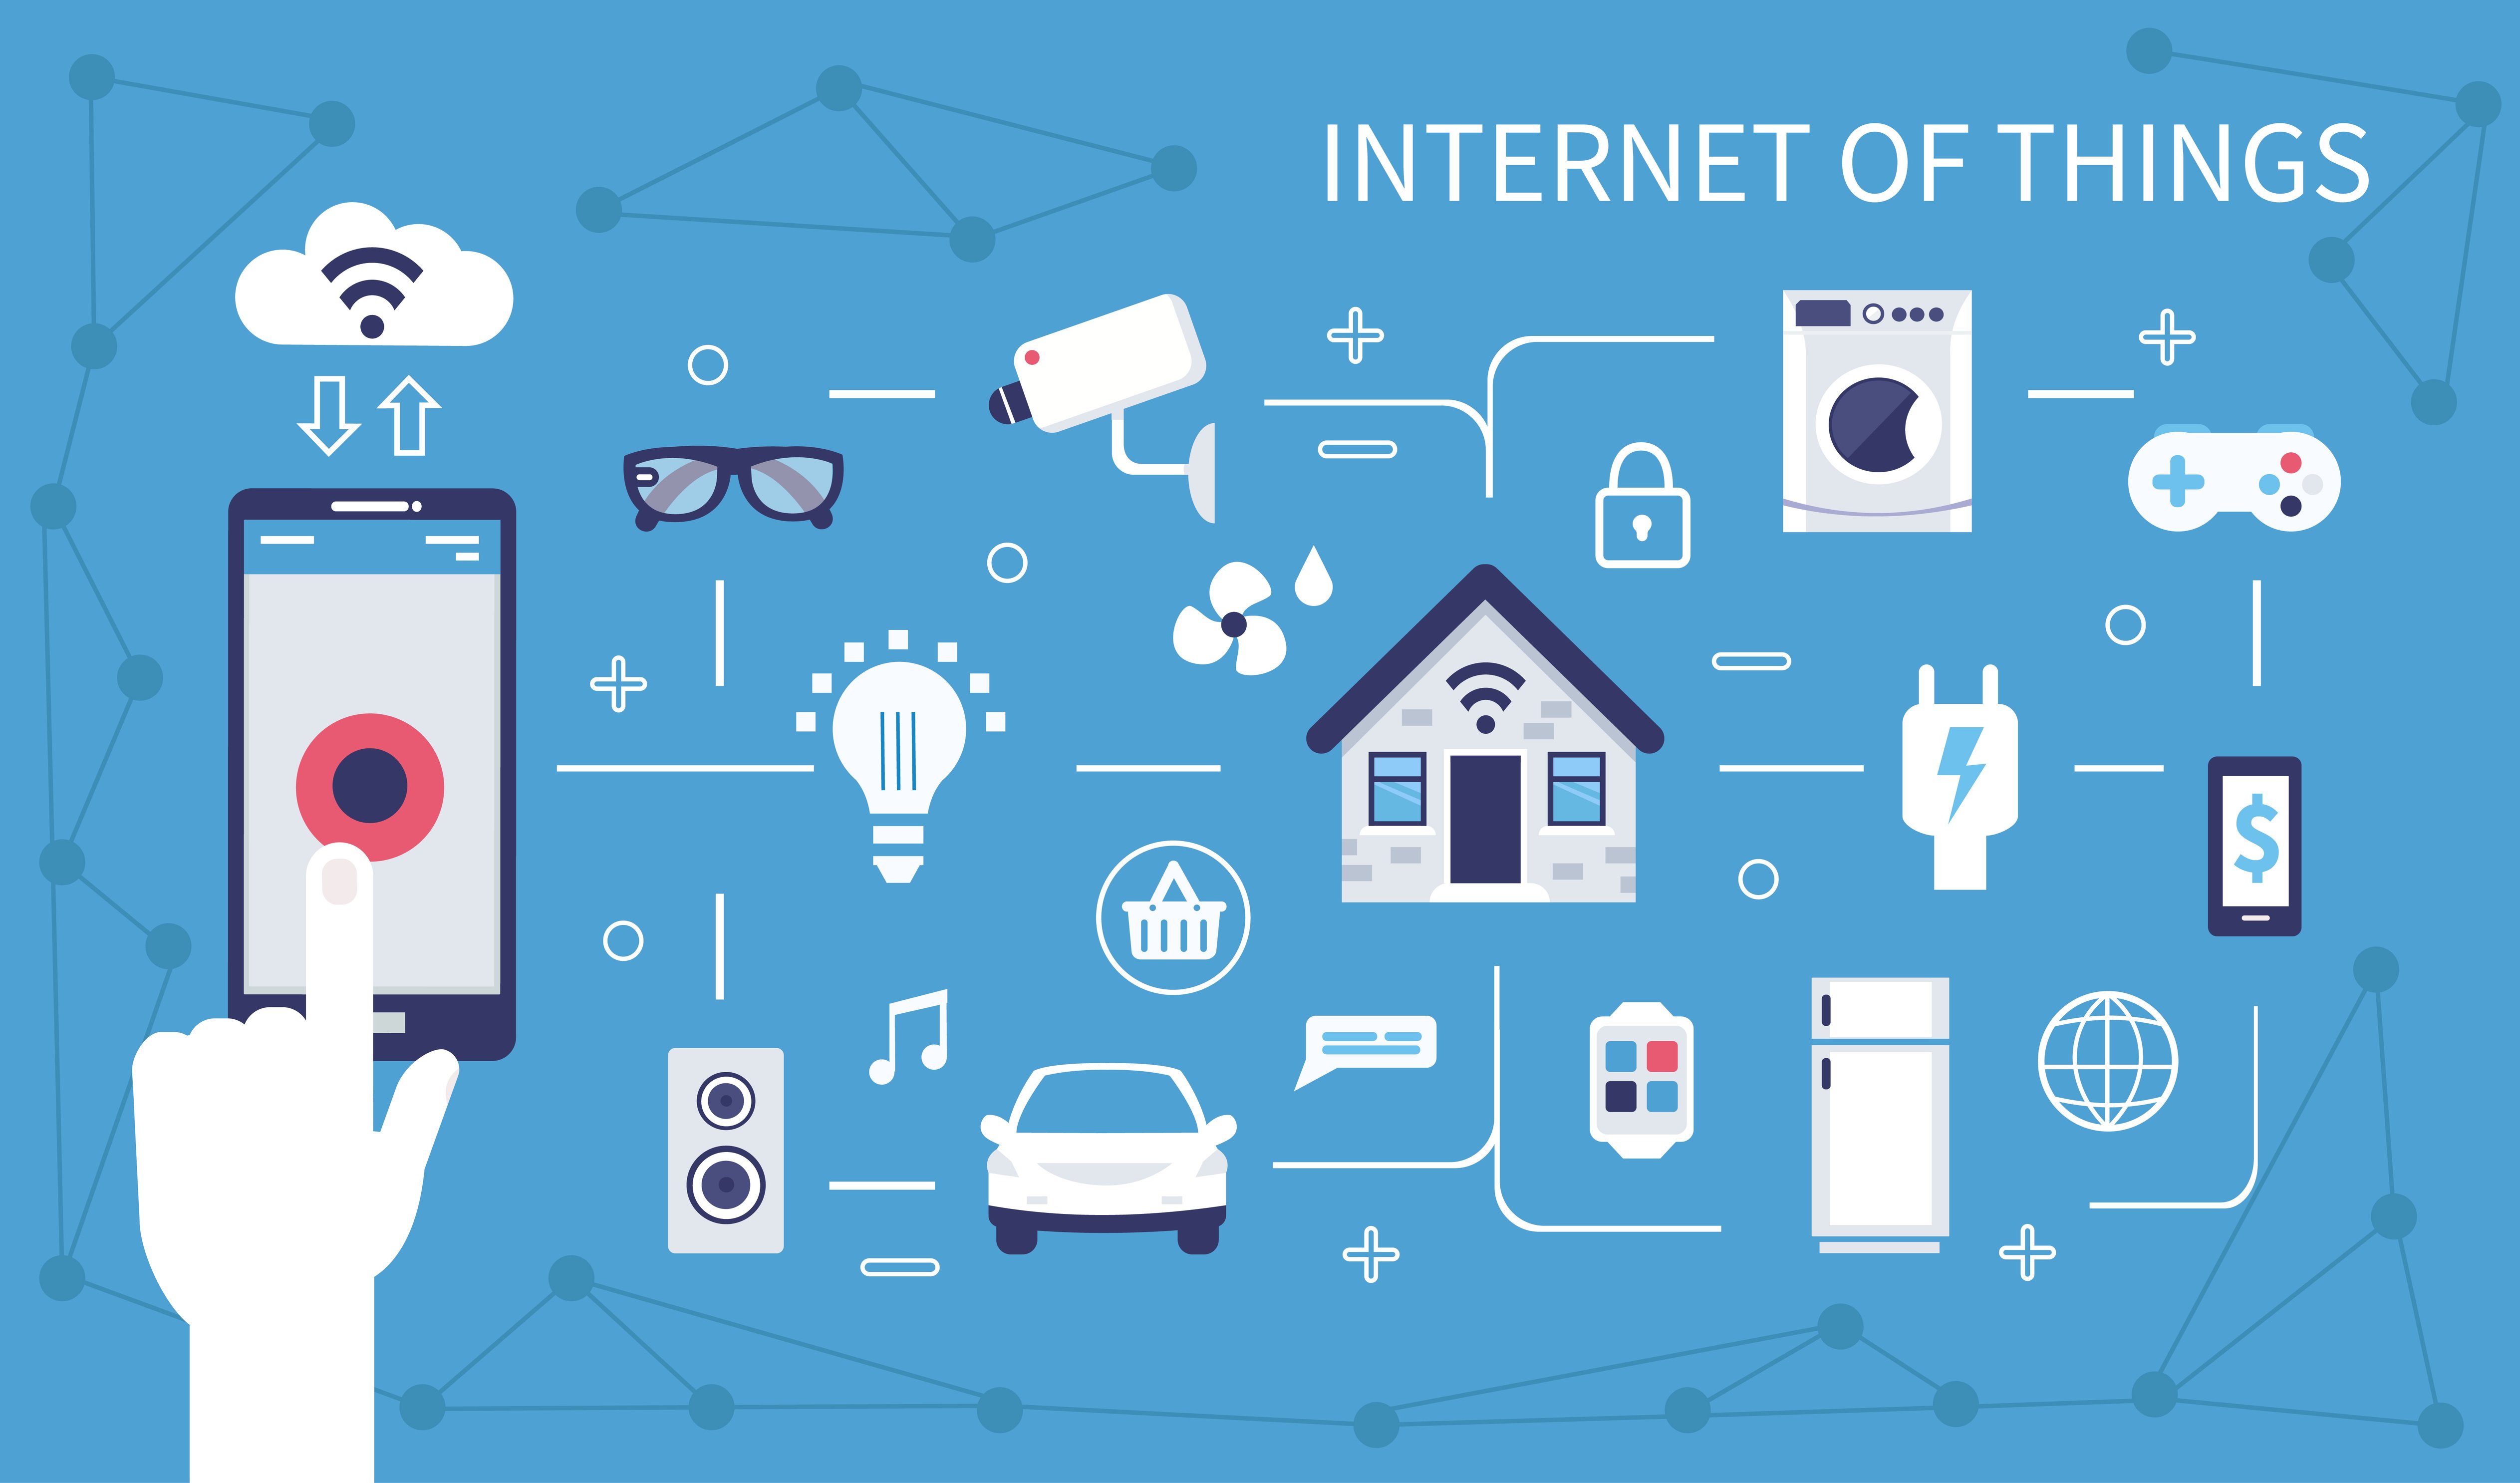
We all know IoT (Internet of Things) is taking over the world. From smart thermostats to security cameras, these gadgets make life easier. But what if you want to control them from afar? The good news is, you don’t need fancy software or expensive subscriptions. You can do it all for free, even if you're not using Windows. Stick around, because we’re about to dive deep into the how-tos.
Now, before we get started, let’s set the stage. This article isn’t just about theory—it’s about practical steps that work. We’ll cover everything from setting up port forwarding to using cloud services and even some clever hacks. So, grab your coffee, and let’s get rolling!
- 4movierulz Movie Downloader Your Ultimate Guide To Stream And Download Movies
- Movie Rules The Ultimate Guide To Mastering The Film Game
Why Use Remote IoT Without Windows?
First things first, why would you want to access IoT devices remotely without Windows? Well, Windows isn’t exactly known for being lightweight or free. Plus, there are tons of alternatives out there that can help you achieve the same goal without the hassle. Whether you’re on Linux, macOS, or even a Raspberry Pi, you can still rock your IoT setup.
Here’s the deal: remote access is essential if you want to monitor your home security camera while you're at work or adjust your smart thermostat when you're on vacation. But doing it without Windows? That’s where the fun begins. You can save money, resources, and even learn a few tricks along the way.
Understanding the Basics of IoT and Routers
Before we jump into the nitty-gritty, let’s break down the basics. IoT devices are basically gadgets that connect to the internet and talk to each other. Your router, on the other hand, is like the gatekeeper of your home network. It controls who gets in and who gets out. When you want to access an IoT device remotely, your router becomes the key player.
- Pickle Lighter Meme The Viral Sensation Thatrsquos Got Everyone Laughing
- Hdhub4u Cat Your Ultimate Guide To Feline Entertainment
Key Concepts to Know
- IP Address: Think of it as your device’s home address on the internet.
- Port Forwarding: This is how you let the outside world talk to your devices inside your network.
- DDNS (Dynamic DNS): A service that lets you assign a memorable name to your IP address.
These concepts might sound intimidating, but trust me, they’re not. Once you get the hang of it, you’ll wonder why you didn’t try this sooner!
Setting Up Port Forwarding
Port forwarding is like giving your IoT device a VIP pass to the internet. Without it, your router won’t know which device to direct incoming traffic to. Here’s how you can set it up:
- Log in to your router’s admin panel. Usually, you can do this by typing "192.168.1.1" or "192.168.0.1" into your browser.
- Find the "Port Forwarding" section. It might be under "Advanced Settings" or "NAT/QoS."
- Add a new rule. You’ll need to specify the internal IP address of your IoT device, the port number, and the protocol (TCP, UDP, or both).
- Save your changes and test the setup.
Pro tip: Make sure your IoT device has a static IP address. This ensures that it won’t change every time you reboot your router.
Using DDNS for Easy Access
Dynamic DNS (DDNS) is a lifesaver when it comes to remote access. Instead of memorizing your IP address, you can assign a friendly name to it. For example, instead of typing "123.456.789.012," you can use "myhome.ddns.net." Here’s how you can set it up:
Steps to Configure DDNS
- Sign up for a free DDNS service like No-IP or DuckDNS.
- Create a hostname (e.g., "myhome") and link it to your router’s public IP address.
- Log in to your router and enable the DDNS feature. Enter the details provided by your DDNS service.
- Test the setup by pinging your hostname from another device.
With DDNS, you’ll never have to worry about your IP address changing. Plus, it’s super easy to use!
Cloud-Based Solutions for Remote IoT
Now, let’s talk about cloud-based solutions. If you’re not into messing with routers and ports, there are plenty of cloud services that can help you access your IoT devices remotely. The best part? Many of them are free!
Popular Cloud Platforms
- Adafruit IO: Perfect for DIY enthusiasts, this platform offers free tier options for basic IoT projects.
- Blynk: A user-friendly app that lets you control your IoT devices from anywhere.
- Thingspeak: Great for data-driven projects, this platform allows you to collect and analyze sensor data.
These platforms not only simplify remote access but also add a layer of security to your IoT setup. Plus, they come with cool features like dashboards and notifications.
Security Considerations
With great power comes great responsibility. When you open up your IoT devices to the world, you need to make sure they’re secure. Here are a few tips to keep your setup safe:
- Change default passwords for your router and IoT devices.
- Enable encryption (WPA2 or WPA3) on your Wi-Fi network.
- Use strong firewalls and antivirus software.
- Regularly update your firmware and software.
Remember, security isn’t just about protecting your data—it’s about protecting your peace of mind. Don’t skimp on this step!
Alternative Tools and Software
There are tons of tools and software out there that can help you with remote IoT access. Here are a few worth checking out:
Tools to Try
- ngrok: A free tool that creates secure tunnels to your local devices.
- PageKite: Another tunneling service that’s easy to set up and use.
- OpenVPN: A powerful solution for creating secure connections between devices.
These tools are great if you want to avoid cloud services or prefer more control over your setup. Plus, they’re all free or have free tiers available.
Troubleshooting Common Issues
Even the best-laid plans can go awry. If you’re having trouble with your remote IoT setup, here are a few common issues and how to fix them:
Issue 1: Can’t Connect to Device
Solution: Double-check your port forwarding settings and make sure your device’s IP address hasn’t changed.
Issue 2: DDNS Not Working
Solution: Verify that your DDNS service is correctly linked to your router’s public IP address.
Issue 3: Slow Connection
Solution: Check your internet speed and consider upgrading your router or switching to a faster plan.
With a little troubleshooting, you’ll have your IoT devices up and running in no time!
Real-World Examples and Case Studies
To give you a better idea of how this works in practice, let’s look at a few real-world examples:
Example 1: Smart Home Automation
John, a tech-savvy homeowner, wanted to monitor his smart thermostat remotely. By setting up port forwarding and DDNS, he was able to control his thermostat from his phone, no matter where he was. Result? Lower energy bills and a comfortable home environment.
Example 2: Security Camera Surveillance
Sarah, a small business owner, needed to keep an eye on her store after hours. Using a cloud-based platform like Blynk, she could access her security camera feeds anytime, anywhere. Peace of mind? Check.
These examples show that remote IoT access isn’t just for tech geeks—it’s for anyone who wants to make their life easier.
Conclusion: Take Action Today
In conclusion, using remote IoT behind a router without Windows is totally doable—and free! By following the steps outlined in this article, you can take control of your smart home or business devices from anywhere in the world. Whether you choose to set up port forwarding, use a cloud service, or try out alternative tools, the possibilities are endless.
So, what are you waiting for? Dive in, experiment, and don’t forget to share your experience in the comments below. And if you found this article helpful, be sure to check out our other guides on all things tech. Until next time, happy hacking!
Table of Contents
- Why Use Remote IoT Without Windows?
- Understanding the Basics of IoT and Routers
- Setting Up Port Forwarding
- Using DDNS for Easy Access
- Cloud-Based Solutions for Remote IoT
- Security Considerations
- Alternative Tools and Software
- Troubleshooting Common Issues
- Real-World Examples and Case Studies
- Conclusion: Take Action Today
- Movie Rulez2com 2023 Kannada Your Ultimate Guide To Streaming And Downloading Movies
- Hdhub4u For U Your Ultimate Destination For Entertainment And Beyond

Remote Manage Iot Behind Router Free Android A Comprehensive Guide
How To Use Remote Manage IoT Behind Router Mac Free A Comprehensive Guide

How To Securely Access IoT Devices Behind Firewalls A Guide To Remote
